Posts

Showing posts with the label FMQing

PQ. 2" Lily" Stitch and Slash

Image
Lily PQ.2 =carolina lily 12"x 12"  made in NE. This weeks challenge was a Carolina Lily. I researched the flower, the quilt block and set out on EQ7 to make my own design.    Not sure what I think of it. If I would finish coloring it in, I think I might like it. I have been wanting to play with my EQ7 program for a long time and I am trying to find ways to do it.  My lqg has group starting the end of the month and I want to play a bit before the class.   So I decided against this quilt as you see from the pic above.  Next on my mental list of things to do this year ...finish watching some of my Craftsy classes that I signed up for.  Is it just me?  I get a class and get all excited about it and then never get around watching it.  Well.......... I now have one under my belt. Carol Ann Waugh's "Slash and stitch" class.  I watched, I found 4 fabrics, ironed, layered, and stitched.  Found a seam ripper and .....let it rip. So much fun !

PQ- Thread

Image
Project Quilting challenge this week was thread. I found this cute Cori Dantini print and decided to go for the fmqing and not stop until I was done no matter how awful my stitches were. Yep, they are not the greatest but I kept at it. I tried several fillers and just kept going.  Made in Ne. approx 24" x 30" Linking up with Persimmon dreams PQ challenge  Here voting will be linked up later today for voting all week long.  VOTE HERE  until noon on friday 12th of Feb. Linking up with Let's Bee Social with Lorna @  Sew Fresh Quilts

Sew My Stash Challenge- Hearts

Image
After talking about wanting to try something new yesterday during a Sew-In with one of my guilds, I went home and got out my fabric and pencils. 100% stash fabrics, thread, and pencils. I am not going to pretend it is great but I love it anyway. I used Inktense watercolor pencils, did some stitching with variegated thread and then hand stitched with another variegated thread and there you have it. This is my progress last night but it was getting to dark to see well.  The fmqing was really quilt fun but the tension was off over half of it before I knew it. Still, I was able to do something new and fun for me.  Bring on the hand sewing too! I never really liked embroidery when I was little but I think I would like to do some more sloooow stitching! :) I don't mind hand binding so maybe this is my new thing...who knows? Linking up with  over at Project: Leasa   and also new this week for me  over at Kathy's Quilts

PQ Season 6 #1 - Mighty Scrappy

Image
"Mighty Scrappy"   Time for Season 6 of Project Quilting with Kim over at Persimon Dreams ! I saw the first challenge go up Sunday and I was not sure I could do it fitting with my goals to finish some things laying around here. I thought about it until Wed or so and decided I could do this challenge " Trees" with scraps and that would be a win win!!!  So here is my " Mighty Scrappy". Mighty Scrappy 18w x 22l all scraps fmquilting made in Ne If you pop over to Kim's site her first photo of a tree was my inspiration. I tried to add some shading but the scraps are pretty bright. If I do it again I think I would try some applique over the dark side. Stay tuned I think she is going to open up for voting by the public later this week. VOTING till Jan 16th click.   linking up with Sherri over @ A Quilting Life for Scraps Monday

A Day late but ALYoF for Sept is the plan!

Image
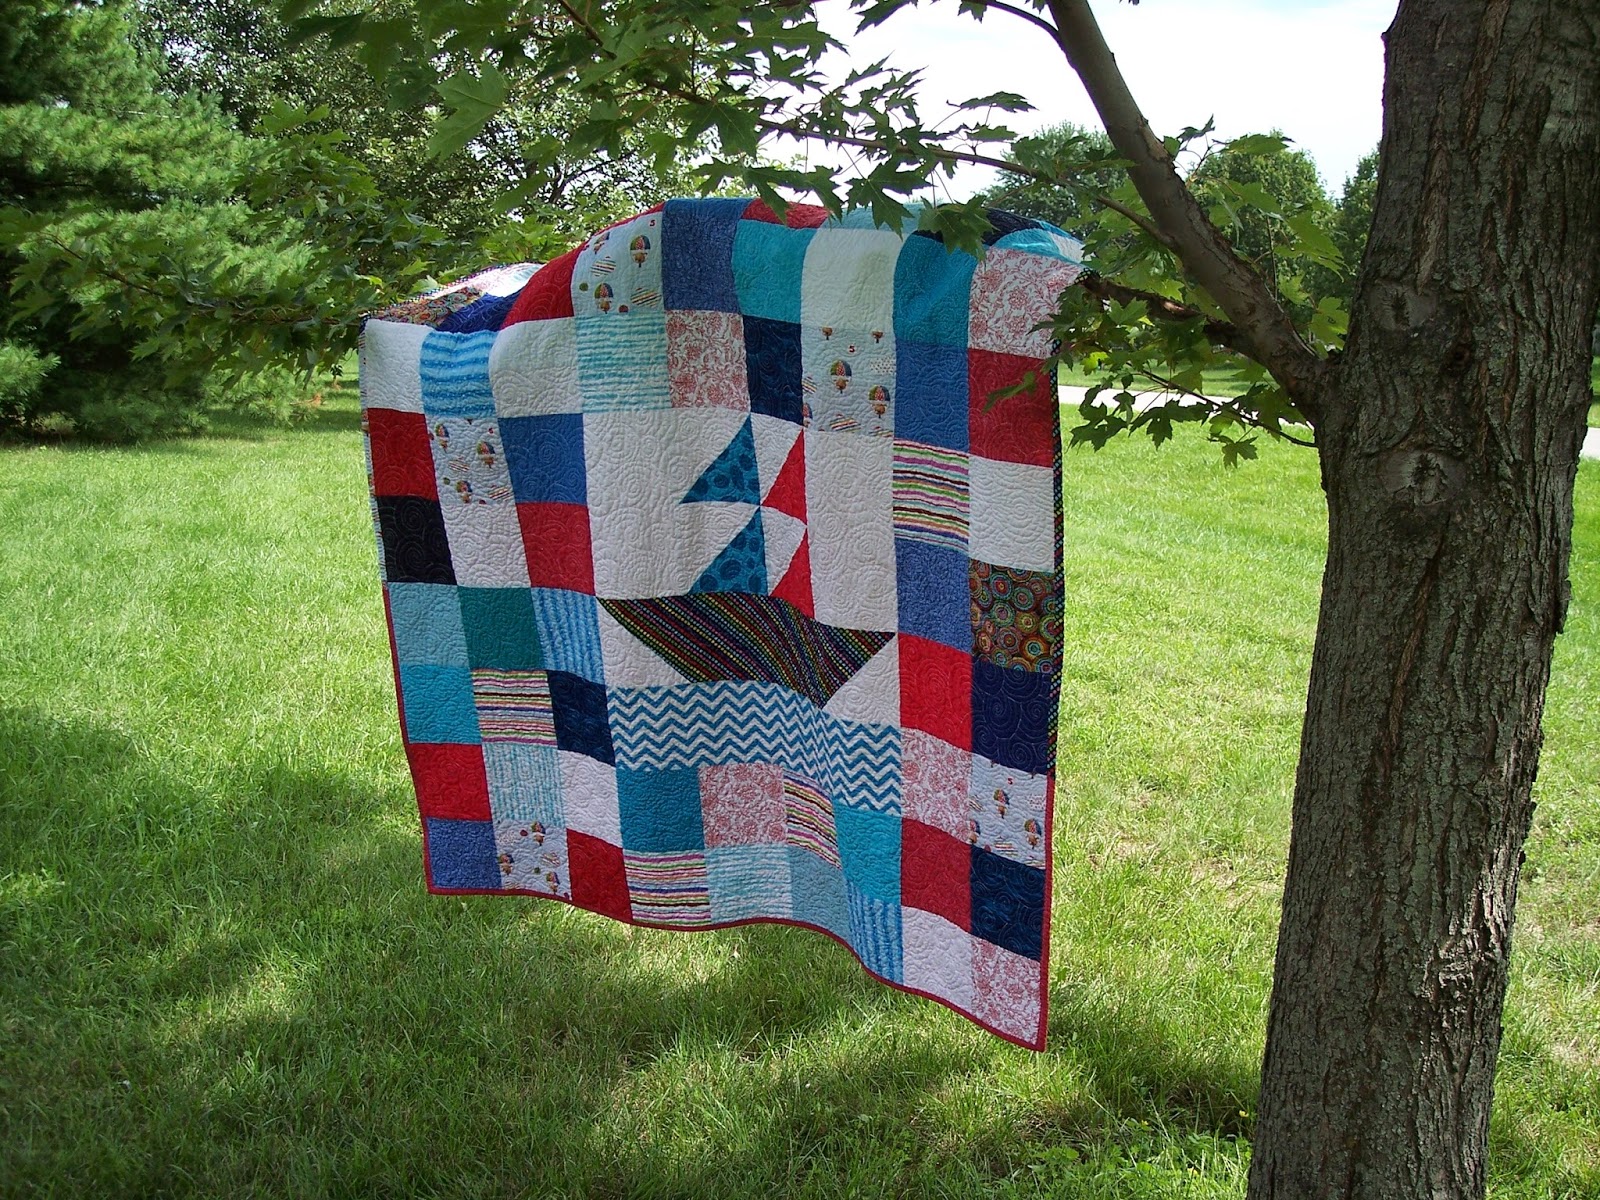
A day late to finish my goal for August ALYoF but it is finished now none the less.  It took me all month to work up the strength (not felt the best) to tackle doing a swirl FMQing design of some sort on this quilt. I figured since it was a scrap stash quilt why not? Many hours of breaking thread and neck ache but it is not too bad for my first time. You can really see all of the quilting on the red part on the back. The swirls are not so bad but the traveling part I rarely met up with an already quilted line. I think it is because I can not see that great. I have to quilt without my glasses so I can get close but I can't see around the darning foot. I need more practice no doubt about it! A finish a day late. Oh well.   54" x 60" approx. Scrappy stash fabrics and boat block from the SewCanShe BOM from July. Onward to a new month and a new project to finish. For September I am going to try to tackle the backing and quilting of the Mod Olive Quilt I did i

Blogger's quilt festival - Improv leaves

Image
    Blogger's Quilt Festival time!!! Love this Festival and so grateful for Amy @ AmysCreativeSide.com HERE  for hosting it. This year I decided to go for it. I know my photos are not great but I so loved doing this project. This is a leaf diptych I made for a Christmas present for one of my sisters.  Please excuse the salmon colored wall behind! :(    I am going to enter this in the Art Quilt category HERE . I hope it is allowed to enter them together since they are meant to be together. Each part measures approx. 17"x 20".  Batik fabric used for all the components of the leaves. FMQing throughout on home machine. The entire project was seamed together (no applique) as free form improv piecing. I really don't like that salmon wall back there! Facing turned backing.   Up close quilting     I wish I would have taken better photos or I wish I knew how to use my new desktop to edit the photos but alas.... I am just going for it! Please

Like Riding a Bike?

Image
....Or at least I hope it is? It has been over a month since I made a post. I have had so many things going on in my head and body and so ....well you know how it goes, right?  Well I have not been idle while away.  I am pulling up my "boot straps" and "getting back on the saddle" again.  Here is a Christmas gift I made that I am quite happy with. But wait, first there is my ongoing problem with Google chrome not letting me upload photos. If anyone has any ideas for me ( I log in and log out and log in and still it says it is unavailable)??? Okay, back to the good stuff.... Ta-da! My first sewing machine cover project. I sort of designed it myself and I made sure to put a pocket on the front. If any of you have little ones that like to come into your sewing room and turn on the knobs and pick up your scissors and seam ripper, then you can see why the pockets came about.  The pocket sort of blends in so if you don't need to use it for anything it s